Complete Guide To Optimizing Your Practice Videos For Search

Some videos get millions of views.
Some start off great then quickly fade out.
Some never get seen.
What can you and your team do to optimize your content to get more leads from prospective patients?

STEP 1: Choose a topic that will get some actual TRAFFIC.
When you’re creating your videos, it’s important to choose the right title, topic and keywords. There is often very little traffic on many keywords that seem valuable at first glance. Conversely some keywords with modifiers like before and after or recovery have much more traffic overall. These are the words and phrases that people will use to search for your videos on YouTube.

You can use a keyword research tool to help you find the right keywords – these show you where the traffic is and help create videos that have actual searches.
TOP KEYWORD RESEARCH TOOLS WE USE FOR VIDEO SEO:

Google Keyword Planner is built into ADWORDS and is a free tool that helps you find high traffic keywords.

Semrush is a paid tool we use that is EXCELLENT for finding topics that have real traffic.

THINKING ABOUT GETTING STARTED WITH VIDEO?
Contact our team for a no cost strategy session. We’ll review your content and website with these tools and help you get started with video marketing for your medical practice.
STEP 2: Creating high-quality videos
Your videos need to be high-quality in order to rank well on YouTube. This means that they need to be well-produced, informative, and engaging. You should also make sure that your videos are relevant to the keywords that you’re targeting.
Here are 5 tips for creating high quality videos for your medical practice:
Plan your video. What do you want to achieve with your video? Where will it fit in on your website and social media? Do you want to educate patients about a certain condition? Do you want to promote your practice? Once you know what you want to achieve, you can start planning your video. Contact our team for a no cost consultation to help you get some great ideas and free production tools.

Write a script. A script will help you stay on track and ensure that your video is informative and engaging. Even a simple list of bullet points will help organize your production. When writing your script, keep your audience in mind and make sure that your language is clear and easy to understand.

Use what equipment you have, today. Your video will only be as good as the equipment you use. However, a video never created will be 100% terrible. Your phone is an amazing production tool – just use it and get on with it. Send us some raw footage and you’ll be amazed by what we can produce with it!
Editing your video (this is where we can REALLY HELP). Once you have shot your video, it’s time to edit it. This is where you will add music, graphics, and transitions. This process can be a huge time vacuum for anyone at the practice. You will need to trim your video and remove any unnecessary footage.

OUR TEAM IS GOOD AT TAKING OLD BORING FOOTAGE AND CREATING HIGH QUALITY VIDEOS from it. Create high quality content without wasting a lot of time contact our team.
Distribute your video. Once your video is complete, you need to distribute it. You can upload it to your website, social media, or even YouTube. You can also share it with your patients through email or snail mail. We are GREAT at getting videos out there on all available channels for you.

STEP 3: Tools & tricks for improving video quality
Boring video is the kiss of death for traffic. Use stock to punch up your productions aesthetics and create better audience retention.
TYPOGRAPHY, TRANSCRIPTIONS AND CAPTIONS:
By adding captions and typography to your videos you allow people to watch it and understand it with the sound off. This is a EXTREMELY common situation and will give your video radically greater accessibility and useability.

The best way to add captions to a video depends on your needs and preferences. Here are a few options to consider:
- Manually: This is the most time-consuming method, but it gives you the most control over the captions. You can use a video editing software like Adobe Premiere Pro or Final Cut Pro to add the captions, or you can use a free online tool like Kapwing or Clideo.
- Automatically: There are a number of online tools that can automatically transcribe audio into text, which you can then use to create captions. Some popular options include CapCut, Happy Scribe, Trint, and Amara. These tools can be a great way to save time, but the accuracy of the transcriptions can vary.
QUICK TIP: Add captions to your existing videos then edit agressively to create shorter, more effective videos.
No matter which method you choose, it’s important to make sure that your captions are accurate and easy to read. The captions should be synchronized with the audio, and they should be large enough and in a clear font so that viewers can easily read them.

Here are some additional tips for adding captions to videos:
- Use consistent formatting for your captions, such as font, size, and color.
- Use clear and concise language.
- Avoid using abbreviations or jargon.
- Break up long captions into shorter lines.
- Test your captions on different devices and browsers to make sure they display correctly.
By following these tips, you can add captions to your videos that are accurate, readable, and accessible to everyone.
USING STOCK VIDEO TO
IMPROVE QUALITY
MA.A TOP Stock Sites We Use:

Pros: Huge library of high-quality stock videos, easy to search, affordable pricing
Cons: Some videos may be restricted to certain countries or regions. Stupid expensive.

Pros: Large library of high-quality stock videos, easy to search, variety of pricing options
Cons: Some videos may be restricted to certain countries or regions. Lots of really bad stock to sift through.

Pros: Huge library of high-quality stock videos, unlimited downloads, one-time payment
Cons: Not as easy to search as some other sites and some pretty dated footage.

Pros: High-quality stock videos, 4K resolution, unlimited downloads
Cons: More expensive than some other sites

Pros: Huge library of stock videos, unlimited downloads, one-time payment
Cons: Not as easy to search as some other sites

Pros: Large library of stock videos, easy to search, variety of pricing options. Really high end.
Cons: Some videos may be restricted to certain countries or regions. Expensive.

Optimize your title and description. Once you’ve created your videos, you need to optimize them for search. This means adding relevant keywords to your titles, descriptions, and tags. You should also make sure that your videos are embedded on your website and social media pages. Spending time creating a targeted title and description is critical to get a video to have any organic traffic.

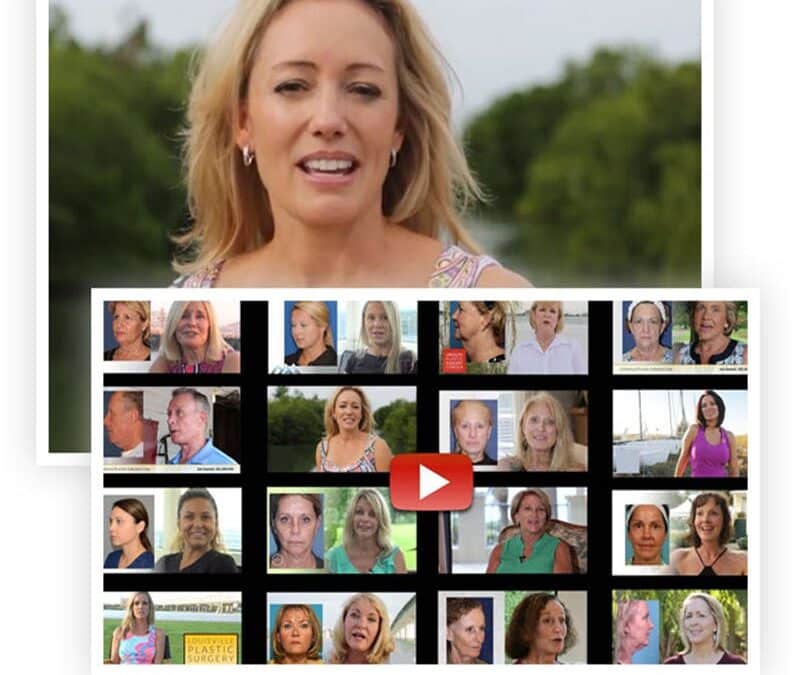
Create great thumbnails. FACT: Nobody clicks on videos with lame titles and thumbnails. A powerful thumbnail image radically increases your odds of a user click.

Two Great paid tools we use for evaluating YOUTUBE traffic and creating better thumbnails for social media:

TubeBuddy is a freemium YouTube tool that helps creators with everything from keyword research to A/B testing.
Pros: Really improves traffic
Cons: Requires devoting large portion of your life to YouTube video analysis

VidIQ is another freemium YouTube tool that helps creators with keyword research, analytics, and more
Pros: Great tool to monitor competitors
Cons: Paid version is where the real value is
By using these tools, creators can track their results, identify what’s working and what’s not, and make changes to their content, thumbnails, titles, and other elements to improve their performance.
STEP 4: Promoting and distributing your content
Once your videos are live, you need to promote them.
This is the breakdown point for most video projects. The web team and staff just don’t know what to do with video and it’s time consuming to learn.
Elective medicine is a very niche space and a little promotion and advertising can really help jumpstart a campaign.
MAIN SOCIAL MEDIA SITES FOR YOUR CONTENT:

YouTube: YouTube is the most popular video sharing platform in the world, with over 2 billion active users. It is a great platform for medical practices to share educational videos, patient testimonials, and other content.
If you’re looking for more traffic there is an obvious SEO correlation between YOUTUBE and GOOGLE.
Facebook: Facebook is the second most popular social media platform in the world, with over 2 billion active users. It is a great platform for medical practices to connect with patients and their families, and to share news and updates about the practice.
Video combined with paid Facebook ads can be a very powerful combo.
Instagram: Instagram is a popular social media platform for sharing photos and videos. It is a great platform for medical practices to share behind-the-scenes photos and videos of the practice, and to showcase the work of the doctors and staff.
Instagram is favoring video content in 2023
TIKTOC: Yet another massive venue for your VIDEOS. Tons of views, questionable ROI.

759 North Lime Avenue, Sarasota, FL 34237


